Installation
To install NuiComponents, you should use your preferred plugin manager.
{
  "grapp-dev/nui-components.nvim",
  dependencies = {
    "MunifTanjim/nui.nvim"
  }
}
Your first UI implementation
Let's start by creating a renderer that has a size of 60x4.
local n = require("nui-components")

local renderer = n.create_renderer({
  width = 60,
  height = 4,
})
Next, let's define the body variable that contains a two-row layout. In the first row, we have a text input field, followed by a small gap and a button labeled Send. The second row has a paragraph element that displays the text nui.components.
local n = require("nui-components")

local renderer = n.create_renderer({
  width = 60,
  height = 8,
})

local body = function()
  return n.rows(
    n.columns(
      { flex = 0 },
      n.text_input({
        autofocus = true,
        flex = 1,
        max_lines = 1,
      }),
      n.gap(1),
      n.button({
        label = "Send",
        padding = {
          top = 1,
        },
      })
    ),
    n.paragraph({
      lines = "nui.components",
      align = "center",
      is_focusable = false,
    })
  )
end
The text input field has some custom settings. It will automatically gain focus when the renderer is mounted, it will take up all the available space in its row and it will only allow one line of text to be entered. The paragraph component will be centered horizontally, and it won't be focusable.
Finally, we can pass the body layout to the renderer function, which renders the defined layout.
local n = require("nui-components")

local renderer = n.create_renderer({
  width = 60,
  height = 4,
})

local body = function()
  return n.rows(
    n.columns(
      { flex = 0 },
      n.text_input({
        autofocus = true,
        flex = 1,
        max_lines = 1,
      }),
      n.gap(1),
      n.button({
        label = "Send",
        padding = {
          top = 1,
        },
      })
    ),
    n.paragraph({
      lines = "nui.components",
      align = "center",
      is_focusable = false,
    })
  )
end

renderer:render(body)
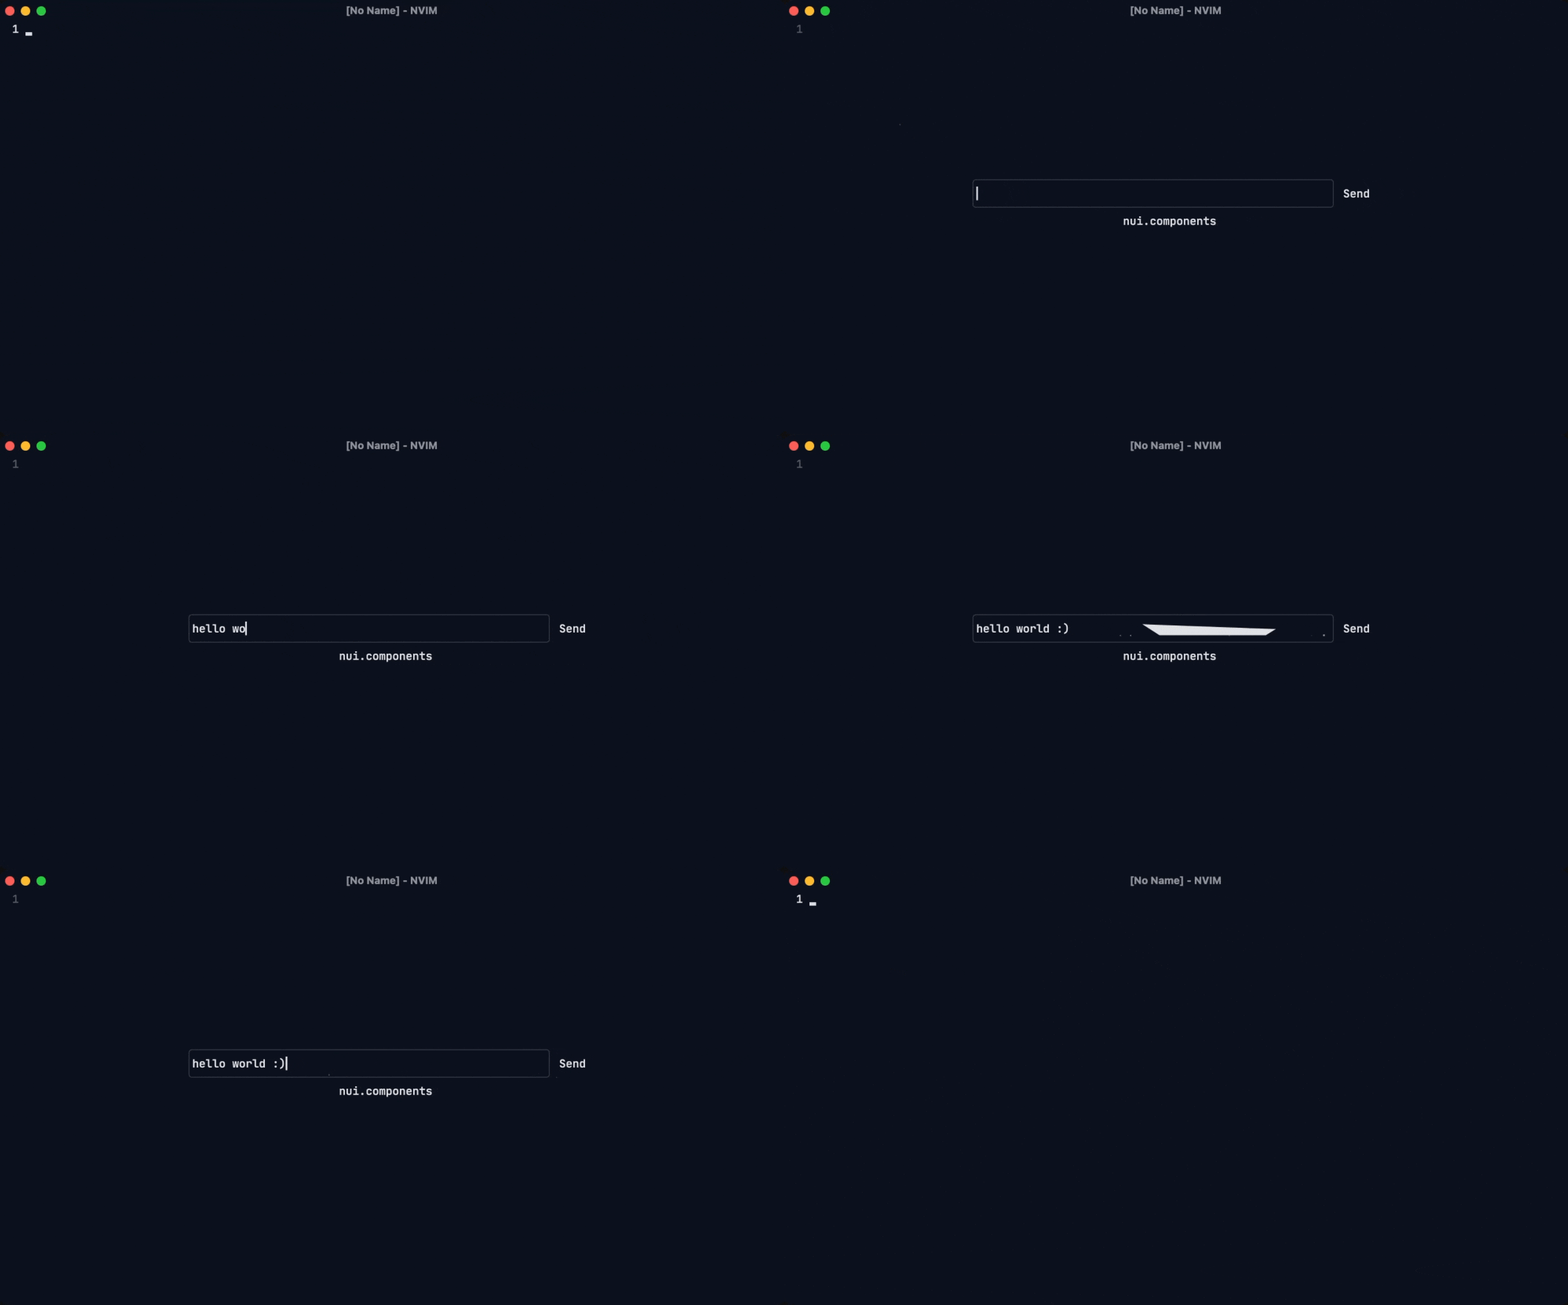
Here's the result:

Now, let's make the UI implementation more reactive! Check out this page to discover the power of Signals.
local renderer = n.create_renderer({
  width = 60,
  height = 8,
})

local signal = n.create_signal({
  is_loading = false,
  text = "nui.components",
})

local body = function()
  return n.rows(
    n.columns(
      { flex = 0 },
      n.text_input({
        id = "text-input",
        autofocus = true,
        flex = 1,
        max_lines = 1,
      }),
      n.gap(1),
      n.button({
        label = "Send",
        padding = {
          top = 1,
        },
        on_press = function()
          signal.is_loading = true

          vim.defer_fn(function()
            local ref = renderer:get_component_by_id("text-input")
            signal.is_loading = false
            signal.text = ref:get_current_value()
          end, 2000)
        end,
      }),
      n.spinner({
        is_loading = signal.is_loading,
        padding = { top = 1, left = 1 },
        hidden = signal.is_loading:negate(),
      })
    ),
    n.paragraph({
      lines = signal.text,
      align = "center",
      is_focusable = false,
    })
  )
end

renderer:render(body)
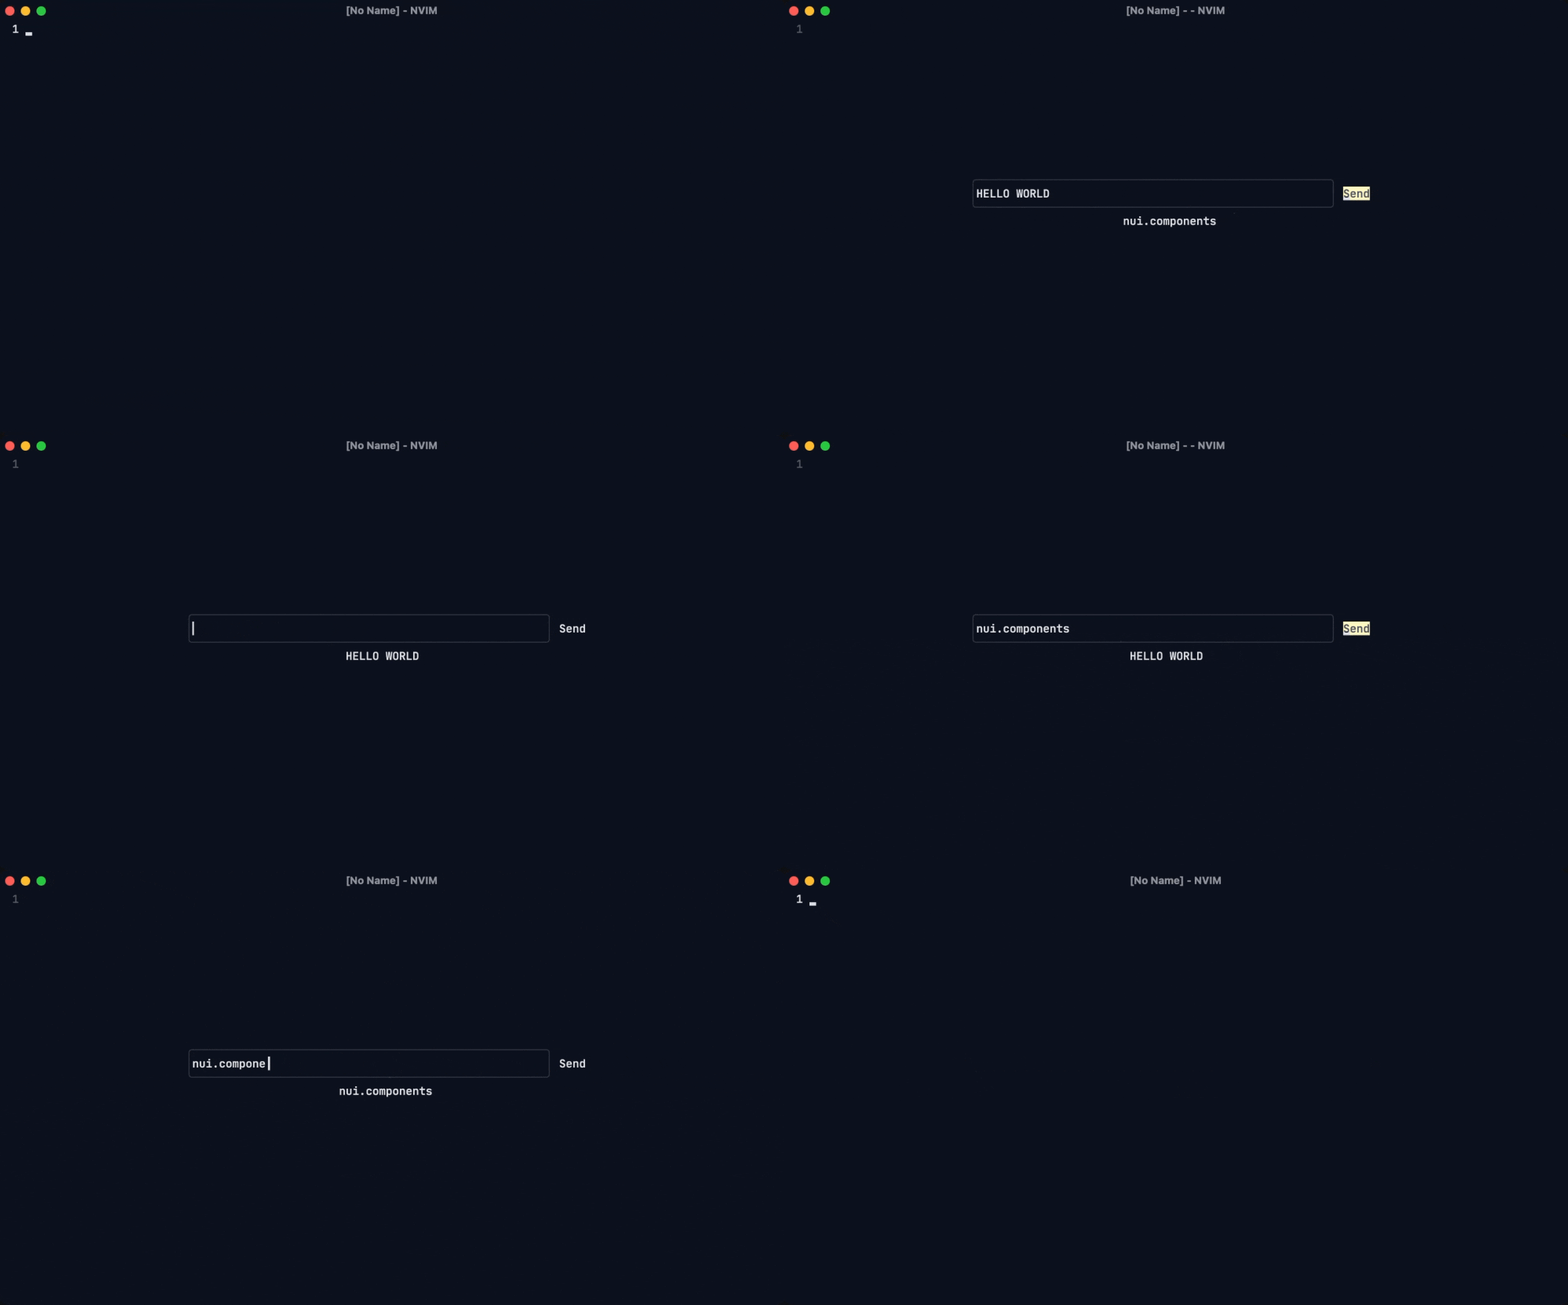
The final result:
